Last week I ambitiously took on a small painting project and decided to paint my antique vanity with milk paint. Lucky for me, I took all of the fixtures off of the vanity and decided to replace them with new fixtures. That left me with a pretty little mirror all alone.
Taking a cue from one of my pins, I decided to add a little something-something and see what happened.
I'm pretty happy with the results.
.JPG)
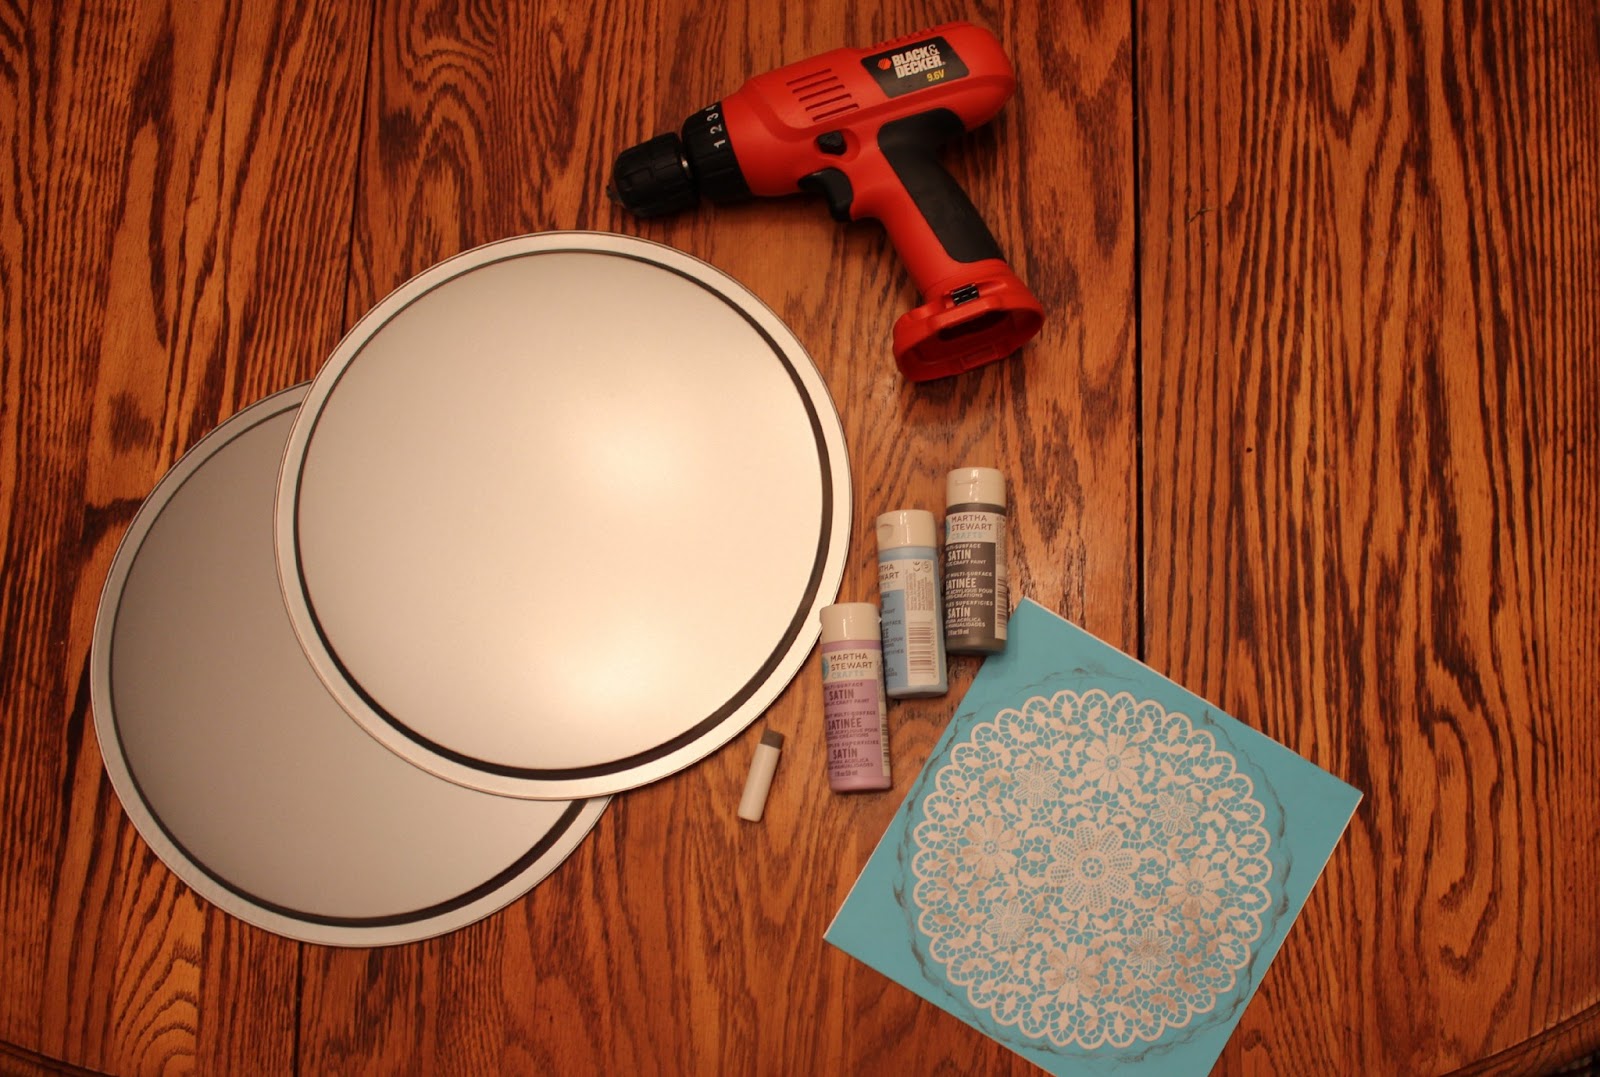
Want to make a similar mirror? Here's what you'll need:
Paper or Fabric Flowers (Another crafting opportunity?)
Buttons
Gem Stones
Various 'Extras'
Hot Glue
Mirror
.JPG)
First, you'll want to map out exactly where you want each design element to be placed. After you've positioned all of your design elements, use the hot glue to affix them to the mirror. If you're afraid of how permanent the hot glue is just use tacky tape. Make sure to let the glue cool. Clean the mirror and display.
.JPG)
See? Simple. Just trust your creative eye and you'll find yourself looking in a beautiful mirror in no time at all!
1
Taking a cue from one of my pins, I decided to add a little something-something and see what happened.
I'm pretty happy with the results.
Want to make a similar mirror? Here's what you'll need:
Paper or Fabric Flowers (Another crafting opportunity?)
Buttons
Gem Stones
Various 'Extras'
Hot Glue
Mirror
First, you'll want to map out exactly where you want each design element to be placed. After you've positioned all of your design elements, use the hot glue to affix them to the mirror. If you're afraid of how permanent the hot glue is just use tacky tape. Make sure to let the glue cool. Clean the mirror and display.
See? Simple. Just trust your creative eye and you'll find yourself looking in a beautiful mirror in no time at all!